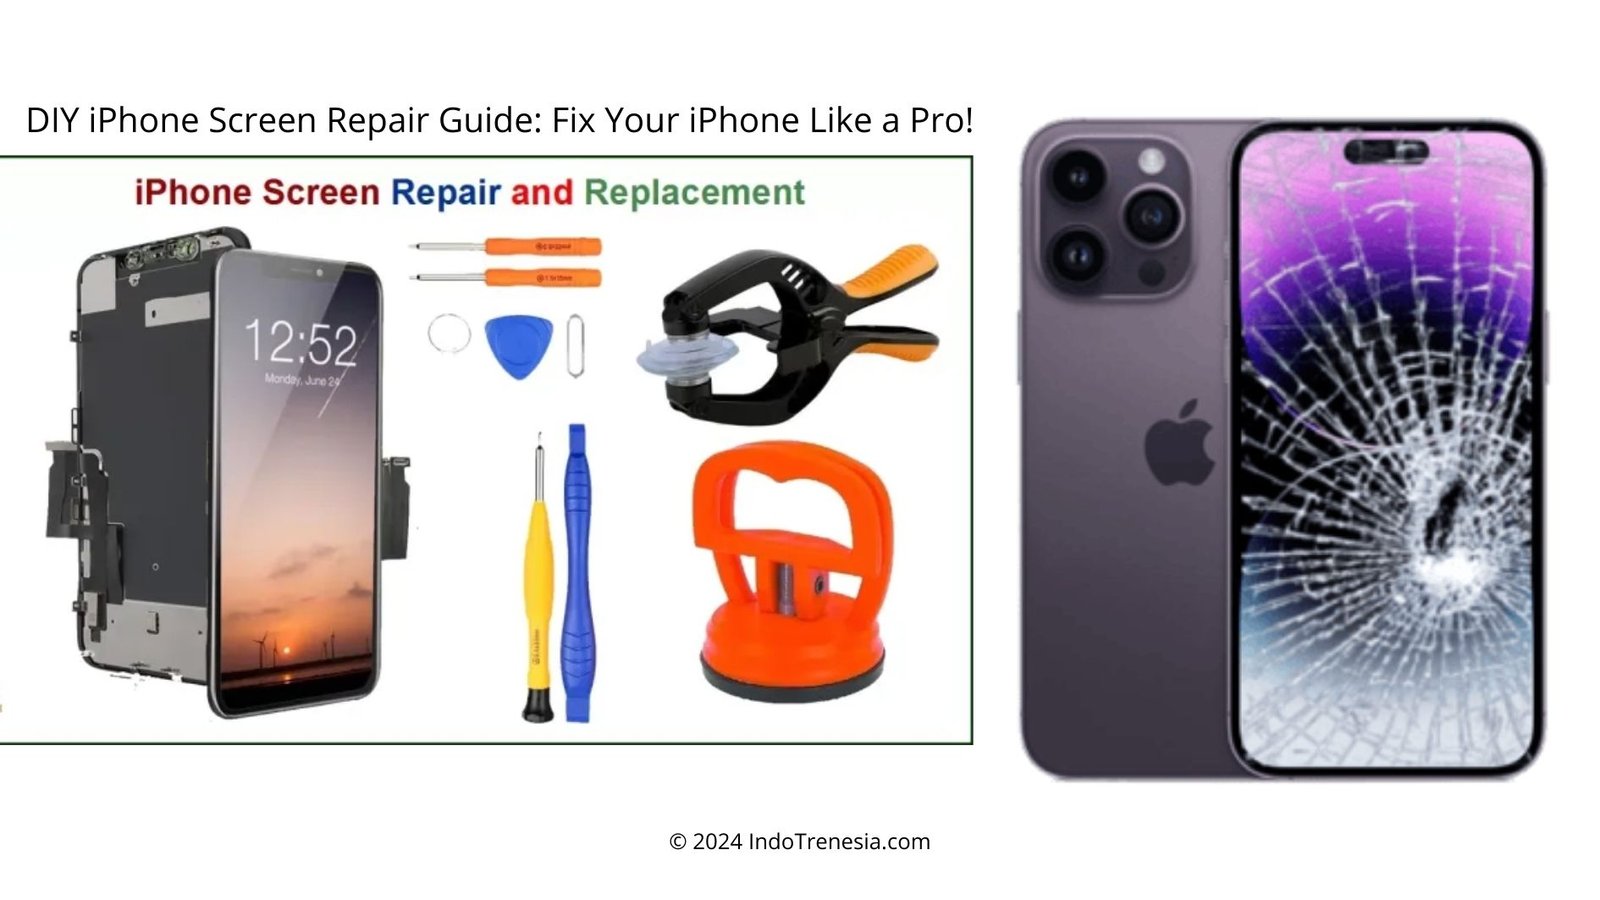
Hello, tech-savvy readers of Indotrenesia! If you’ve ever dropped your iPhone, only to find that the screen is shattered or cracked, you’re not alone. It happens to the best of us! But before you rush to a repair shop, did you know that you can repair or replace your iPhone screen yourself? That’s right—DIY iPhone screen repair is more doable than you think, and it could save you a lot of money in the process.
At Indotrenesia, we believe in empowering you with the knowledge and skills to take control of your devices. Whether you’re a tech enthusiast or someone just looking to save some cash, this step-by-step guide will walk you through the process of repairing your iPhone screen with ease. Let’s dive in!
Why Opt for DIY iPhone Screen Repair?
Before we get into the nitty-gritty of repairing your iPhone screen, let’s explore why you should even consider going the DIY route:
- Cost-Effective: Professional repair services can charge a premium, but with the right tools, you can save a ton of money by fixing it yourself.
- Learning Opportunity: You’ll gain hands-on experience that’ll come in handy if you face any more repairs down the line.
- Convenience: No need to wait in line or schedule an appointment. You can do it at your own pace, in your own home!
What You’ll Need for the Repair
Before diving into the iPhone screen replacement, make sure you have all the necessary tools and materials. Having the right equipment is crucial for a successful DIY repair. Here’s your checklist:
Essential Tools:
- Replacement iPhone Screen (Make sure it matches your iPhone model)
- Pentalobe Screwdriver (for removing screws around the iPhone)
- Phillips Screwdriver (for internal screws)
- Plastic Spudger or Opening Tool (to safely detach components)
- Suction Cup Tool (to lift the screen)
- Tweezers (for delicate parts)
- Adhesive Strips (to secure the new screen)
- Heat Source (optional, like a hairdryer or heat gun for softening adhesive)
Once you’ve got all your tools ready, you’re set to get started!
Step-by-Step Guide to Repairing Your iPhone Screen
Step 1: Power Off Your iPhone
Before you start the repair, make sure your iPhone is powered off. This prevents any electrical accidents and ensures the safety of your device.
Step 2: Remove the Screws
Next, take your pentalobe screwdriver and remove the screws on the side of the iPhone. These screws are tiny, so make sure you keep them safe. After removing the screws, you’re ready to proceed.
Step 3: Lift the Screen with the Suction Cup
Now, take your suction cup tool and place it on the bottom of the screen (near the Home button). Gently pull upward to loosen the screen from the body. If the screen doesn’t come off easily, apply a bit of heat from a hairdryer or heat gun to soften the adhesive. Be patient, as this step can take some time.
Step 4: Detach the Screen
Once the screen is lifted, use a plastic spudger to carefully detach the screen from the body. Gently work your way around the edges, as you don’t want to damage any internal components, such as the front camera or Face ID sensor.
Step 5: Disconnect the Battery
This is an important safety step. Use your Phillips screwdriver to remove the screws securing the battery connector. Disconnect the battery to ensure that there’s no power running through the phone while you continue working.
Step 6: Disconnect the Screen Cables
Now it’s time to disconnect the screen cables from the motherboard. Using your tweezers or spudger, carefully disconnect each of the connectors. Make sure you don’t force anything—these connections can be fragile!
Step 7: Install the New Screen
With the old screen removed, it’s time to install the new one. Carefully place the replacement screen onto the body of the iPhone, ensuring that the connectors align properly. Reconnect the screen cables to the motherboard and secure the battery connection.
Step 8: Reassemble Your iPhone
Once everything is in place, gently press the new screen back into the frame. Reattach the screws around the device to secure the screen. Double-check that everything is aligned and connected properly before moving forward.
Step 9: Test Your iPhone
Now, the moment of truth: Power on your iPhone and check the display. Test the touch screen, camera, and all the functionalities to ensure that everything works smoothly. If everything is in order, congratulations! You’ve successfully replaced your iPhone screen!
Pro Tips for a Successful Repair
- Take Your Time: Don’t rush the process. Be patient and work slowly to avoid damaging any components.
- Use Quality Parts: Always use high-quality replacement screens. Cheap alternatives may not perform as well or last as long.
- Keep Your Workspace Organized: A clean, clutter-free workspace makes the repair process smoother and prevents you from losing small parts.
- Watch Tutorials: If you’re a visual learner, check out video tutorials for step-by-step guidance.
Is DIY iPhone Screen Repair Right for You?
While fixing your iPhone screen yourself can be rewarding, it’s not for everyone. Here are a few things to keep in mind:
- Risk of Damage: If you’re not careful, you could accidentally damage internal components.
- Warranty Concerns: DIY repairs might void your warranty if your device is still under service.
- Time-Consuming: It takes time and patience, so be sure you’re committed to finishing the job.
If you’re unsure about tackling the repair yourself, professional repair services are always an option. But for those who love a challenge, this DIY fix can be incredibly satisfying.
Indotrenesia’s Final Thoughts: Repair Your iPhone Like a Pro!
At Indotrenesia, we believe in harnessing the power of technology to solve everyday problems, and DIY iPhone screen repair is a great example of that. If you’re feeling adventurous and confident, grab your tools and start the repair process today. But always remember, the key to a successful repair is patience, precision, and quality parts!
Have you ever tried to repair your iPhone screen? Share your experiences or ask us any questions in the comments below—we’d love to hear from you!
#IndotrenesiaTechTips #DIYTechRepair #iPhoneScreenFix #TechDIY #IndotrenesiaMobileRepair


